Flat tire repair is a skill that can save you time, money, and hassle, especially when you’re on the road and pressed for time. Learning how to repair a flat tire yourself is essential for any driver. In this guide, we’ll walk you through the step-by-step process so you can get back on the road quickly and safely.
Understanding the Basics of Flat Tire Repair
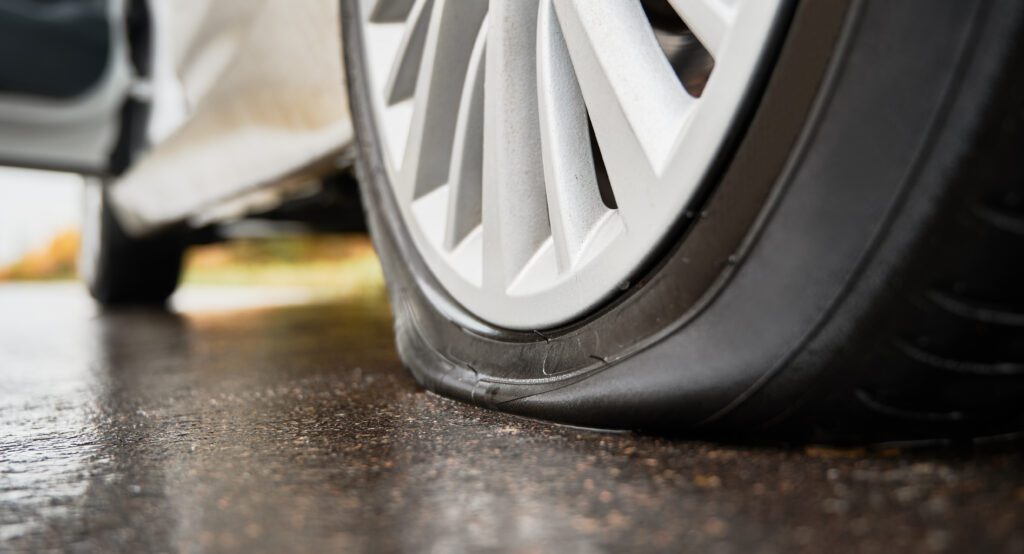
A flat tire typically occurs when the air pressure in the tire drops significantly due to a puncture, a leak, or a damaged valve stem. While some flats can be prevented with proper maintenance, others are simply unavoidable.
Step-by-Step Guide to DIY Flat Tire Repair
Now, let’s dive into the step-by-step process of repairing a flat tire yourself:
Assess the Damage
- Begin by visually inspecting the tire for punctures or leaks. Look for any objects stuck in the tread that may have caused the flat.
- Use a tire pressure gauge to check the current pressure of the flat tire.
Remove the Tire
- Before lifting the vehicle, loosen the lug nuts slightly with a lug wrench to make removal easier once the car is raised.
- Use a jack to lift the vehicle off the ground, ensuring it is stable and secure.
- Once the vehicle is raised, remove the lug nuts completely and carefully take the flat tire off the wheel hub.
Locate the Leak
- Inflate the flat tire to a safe pressure and listen for any hissing sounds indicating air escaping from the puncture.
- Alternatively, create a soapy water solution and apply it to the tire’s surface. Watch for bubbles forming at the site of the leak.
Patch the Tire
- Use a tire repair kit to patch the puncture. Insert the tire plug into the puncture hole using the insertion tool provided in the kit.
- Trim off any excess plug material with scissors to ensure a smooth surface.
Reinflate and Reinstall
- Use an air compressor or gas station pump to reinflate the tire to the recommended pressure specified in your vehicle’s manual or on the tire’s sidewall.
- Once inflated, carefully place the tire back onto the wheel hub and secure it with the lug nuts.
Test and Monitor
- Lower the vehicle back to the ground using the jack and tighten the lug nuts in a crisscross pattern to ensure even pressure.
- Take a short test drive to ensure the tire is properly inflated and there are no unusual vibrations or noises.
- Monitor the tire’s pressure over the next few days to ensure the repair holds.
Get Back on the Road
Repairing a flat tire yourself may seem daunting at first, but with the right tools and know-how, it’s a skill that anyone can learn. By following these simple steps, you can save time, money, and the hassle of waiting for roadside assistance. So the next time you find yourself with a flat tire, don’t panic—roll up your sleeves and get to work!
Professional Flat Tire Repair Service

If you’re uncomfortable repairing a flat tire yourself or the damage is too severe, don’t hesitate to contact a professional flat tire repair service. If you need immediate assistance, Ced’s Mobile Truck Tire Service offers 24/7 emergency roadside assistance to ensure you’re back on the road swiftly and securely. Our team of experts is standing by to help you get back on the road safely. Visit our homepage to learn more about our services, and check out our Ced’s Mobile Truck Tire Service blog for more helpful tips and tricks.